Why use a contact sheet
A contact sheet gives you an overview of a longer recording at a glance. It is useful for interviews, sports analysis, b-roll selection, and cataloging personal videos.
Pick a sample density
For a short clip, 9 or 16 evenly spaced samples may be enough. For a longer clip, try 25 or 36. Because each image is a timestamp sample, this is an overview rather than a record of every single frame.
Choose columns and format
Four columns balance readability and page width for many videos. PNG keeps labels sharp; JPG reduces file size. The tool creates the grid in your browser and downloads one image.
Check the edges
Early and late samples may show intros, black frames or fade-outs. If that happens, adjust the source clip before creating the sheet.
The tool samples evenly throughout the video, so it might miss a split-second event between sample points. It does not detect scene cuts or remove similar frames automatically. Scrub around an interesting labeled timestamp for precise selection.
For a brief clip, nine or sixteen frames may be enough to identify transitions. For a longer clip, 25 or 36 frames give a broader overview but make each frame smaller. Choose three or four columns when you intend to inspect the result on a phone. If you need a printable sheet, download PNG so labels stay crisp.
How to choose the right layout
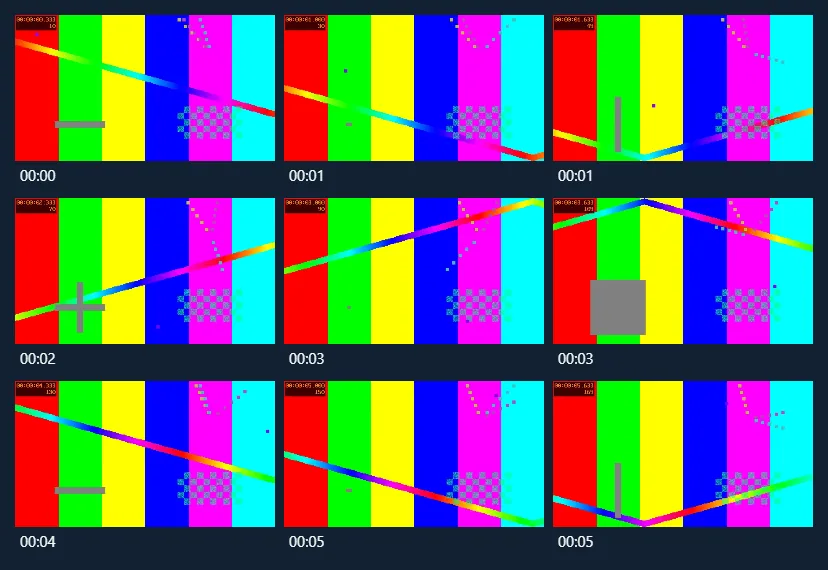
In our test, the contact sheet tool took a 6-second, 640 × 360, 30-fps H.264 video, sampled nine timestamps, and arranged the decoded frames in three columns with time labels. Each cell is a preview, not a full-resolution standalone still. To save a chosen moment at native dimensions, use the frame extractor afterward.
Worked example: nine samples from a six-second clip
Related guides
Read the sample spacing
Nine samples from six seconds are about 0.67 seconds apart. Across a 90-second clip the same setting is about 10 seconds apart. Use the long grid to locate a section, then make a shorter local clip or scrub around a labeled time to find the exact moment.